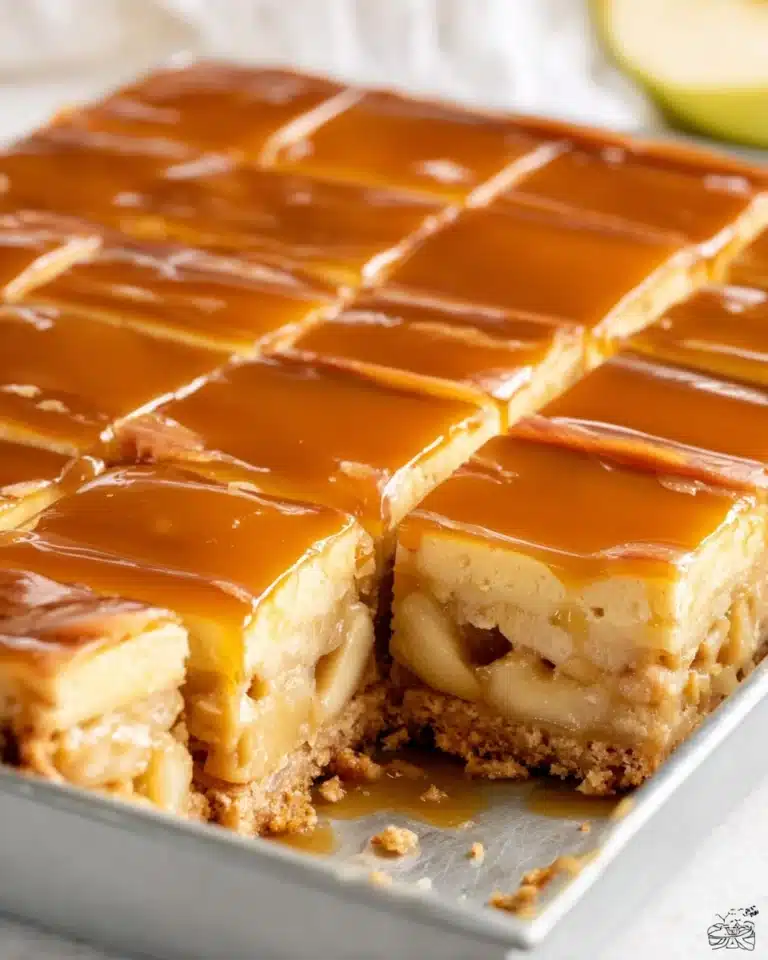
If you’re hunting for a playful, crowd-pleasing treat that feels both nostalgic and indulgently new, these Caramel Turtle Rice Krispie Treats are destined to become your next obsession. This is where the soft, marshmallowy joy of classic Rice Krispie treats meets gooey caramel, silky chocolate, and crunchy pecans—capturing everything you love about the classic turtle candy, but with a cereal-bar twist! Whether you’re packing a lunchbox, wowing your friends at a cookie swap, or simply treating yourself after a long week, this homemade dessert brings smiles wherever it goes.
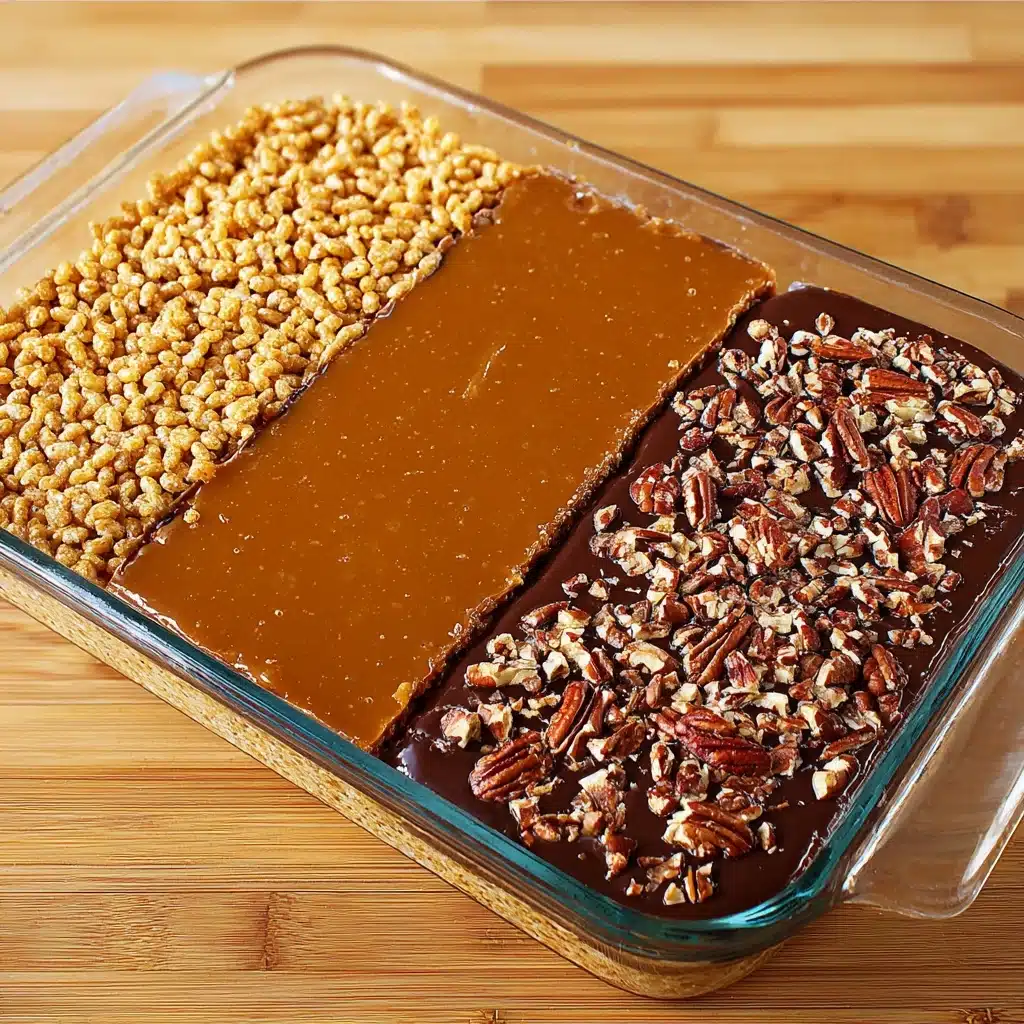
Ingredients You’ll Need
The secret behind the craveable taste and texture in Caramel Turtle Rice Krispie Treats is the combination of simple pantry ingredients, each bringing something special to the party. It’s all about choosing quality basics and celebrating the harmony between sweet, salty, and crunchy.
- Rice Krispie Cereal: The crisp, snappy base that gives the treats their classic airy crunch.
- Mini Marshmallows: These melt into gooey perfection and make every bite soft and chewy; save a few for a decorative sprinkle on top!
- Butter: Adds richness and helps the marshmallows melt smoothly—don’t forget unsalted if you want control over the sweetness.
- Vanilla Extract (optional): A splash deepens the flavor and brings warmth to every bite.
- Caramels: The irresistible star—unwrap the squares for a shortcut to dreamy, molten caramel.
- Heavy Cream or Evaporated Milk: Thins the caramel and chocolate layers just enough to pour luxuriously.
- Chocolate Chips: Choose semi-sweet for balance; they’ll melt into a beautiful, glossy layer atop your bars.
- Chopped Pecans: For a toasty crunch that echoes those classic chocolate turtles; toast them for extra magic.
- Extra Marshmallows & Chocolate Chips (for topping): Adds visual wow factor and even more texture.
How to Make Caramel Turtle Rice Krispie Treats
Step 1: Prepare Your Pan
Start by greasing a 9×13″ baking pan or lining it neatly with parchment paper. This simple prep step ensures a clean release, so those sticky marshmallow and caramel layers will peel away perfectly when it’s time to slice and serve.
Step 2: Make the Cereal Base
In a large saucepan set over medium-low heat, melt the butter and mini marshmallows together, stirring constantly. You’re looking for a silky, lump-free mixture—patience and gentle stirring are key here. Once smooth, add a splash of vanilla extract for extra depth. Pour in your Rice Krispie cereal and quickly fold everything together until all the crackly bits are coated and glossy.
Step 3: Press and Shape
While the mixture is still warm and pliable, use a buttered spatula (or clean, buttered hands!) to gently but firmly press it into the waiting pan. You can aim for a flat, even sheet or leave it a tad rustic and ripply—either way, uniform thickness ensures every bar is equally delicious.
Step 4: Prepare the Caramel Layer
Unwrap your caramels and melt them together with a quarter cup of heavy cream (and your vanilla extract, if you like) in a double boiler. Stir often; this process will take about 10 minutes. When the caramel is velvety and pourable, drizzle it straight over the Rice Krispie base, using a spatula to spread it evenly. Pop the pan into the fridge for five minutes to help the caramel set up before the next layer.
Step 5: Add the Chocolate Topping
Combine your chocolate chips with the remaining heavy cream and melt them together in the microwave for about a minute (check and stir every 20 seconds to prevent burning). Once silky, spread the chocolate over the chilled caramel layer—and just like that, your bars are looking seriously indulgent.
Step 6: Garnish and Chill
Immediately sprinkle chopped pecans and a handful of chocolate chips over the glossy chocolate, gently pressing them in so they stick. You can also add a scatter of reserved mini marshmallows for more texture and visual pop. Let the whole pan chill in the fridge until firm, then drizzle a bit of extra melted caramel and chocolate across the top for drama.
Step 7: Slice and Enjoy
Once set, lift the treats from the pan and transfer to a cutting board. Use a sharp knife (lightly oiled if needed) to cut into neat squares or generous rectangles, and get ready for the inevitable chorus of oohs and ahhs.
How to Serve Caramel Turtle Rice Krispie Treats
Garnishes
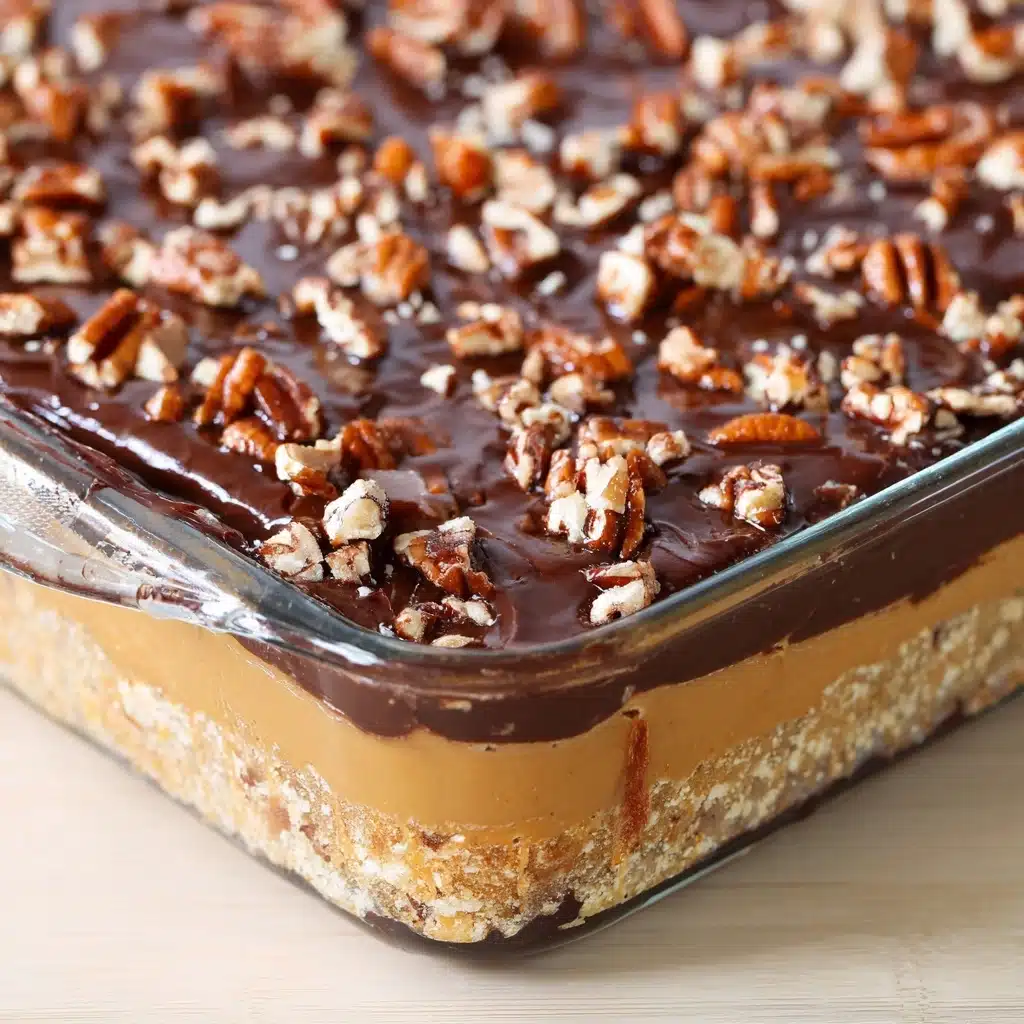
Elevate your Caramel Turtle Rice Krispie Treats by swirling a final drizzle of caramel or chocolate across the top, sprinkling with sea salt flakes, or adding more toasted pecans and mini marshmallows. This not only makes them look bakery-worthy but ramps up each bite with bursts of salty-sweet crunch and gooey decadence.
Side Dishes
These treats are stars on their own, but if you’re building a dessert platter, pair them with fresh berries for a tart contrast, maybe some vanilla ice cream, or even a scoop of salted caramel gelato to amplify those turtle flavors. A strong cup of cold brew or hot coffee on the side really completes the pause-worthy moment.
Creative Ways to Present
Stack your Caramel Turtle Rice Krispie Treats high on a vintage cake stand, or wrap individual bars in wax paper and tie with twine for a charming homemade gift. For parties, you can use cookie cutters for fun shapes or skewer cubes onto sticks for a dessert kabob. Presentation is half the fun—feel free to get playful!
Make Ahead and Storage
Storing Leftovers
Keep any leftover Caramel Turtle Rice Krispie Treats in an airtight container at room temperature for up to four days. Separate layers with parchment or wax paper to keep the caramel and chocolate from sticking the bars together.
Freezing
Yes, you can absolutely freeze these! Arrange the cooled bars in a single layer on a tray to freeze solid, then transfer to a zip-top bag or airtight container for up to two months. Separate with parchment to keep them pristine—and let thaw at room temperature before serving for that ideal chewy texture.
Reheating
These treats are scrumptious straight from the container, but if you want extra gooeyness, pop a square in the microwave for five to ten seconds. It gently softens the marshmallow and caramel layers for a just-made feel, as if you’ve conjured bakery magic in your own kitchen.
FAQs
Can I make Caramel Turtle Rice Krispie Treats nut-free?
Absolutely! Just omit the pecans or swap in crushed pretzels or sunflower seeds for crunch. They’ll be just as decadent and inclusive for anyone avoiding nuts.
What’s the best way to melt the caramels without burning them?
Low and slow is the way to go; use a double boiler or a heatproof bowl set over gently simmering water, stirring constantly. This prevents scorching and results in a smooth, pourable caramel every time.
Can I use store-bought caramel sauce instead of melting caramels?
You can in a pinch, but keep in mind that jarred sauces may be thinner and could make the bars a bit gooier or messier. Thick, chewy caramels melted with cream offer the most classic texture for Caramel Turtle Rice Krispie Treats.
How do I cut the bars cleanly?
Wait until the bars are completely set and chilled. Use a very sharp knife, lightly greased if needed, and wipe it between cuts. This prevents sticking and results in neat, photogenic squares.
Can I use different types of chocolate for the topping?
Definitely! Semi-sweet chocolate is classic, but milk or dark chocolate will both shine. White chocolate can also be used for drizzling if you’re feeling extra festive.
Final Thoughts
There’s something seriously special about sharing a pan of Caramel Turtle Rice Krispie Treats—everyone lights up at first bite! I hope you feel inspired to whip up this whimsical blend of nostalgia and decadence. Trust me, your kitchen (and your friends and family) will thank you.
Print
Caramel Turtle Rice Krispie Treats Recipe
- Total Time: 40 minutes
- Yield: 24 squares
- Diet: Vegetarian
Description
Indulge in these decadent Caramel Turtle Rice Krispie Treats that combine the classic flavors of caramel, chocolate, and pecans for a delightful twist on a traditional dessert.
Ingredients
Rice Krispie Treats:
- 6 cups Rice Krispie Cereal
- 1 14-16 oz. bag mini marshmallows (reserve some for topping decoration)
- 6 Tablespoons butter
- 1 teaspoon vanilla extract (optional)
Caramel Layer:
- 14 oz. caramels (about 45 little caramel squares)
- 1/2 cup heavy cream or evaporated milk, divided
Chocolate Layer:
- 6 oz Chocolate chips (plus more for topping decoration)
- 1 cup chopped pecans, toasted for more flavor (optional)
Instructions
- Prepare Rice Krispie Base: Grease or line a 9×13 pan. Melt butter and mini marshmallows over medium-low heat until smooth. Stir in Rice Krispies and press into the pan.
- Make Caramel Layer: Melt caramels, vanilla, and 1/4 cup heavy cream over a double boiler until smooth. Pour over Rice Krispie base and chill.
- Create Chocolate Layer: Melt chocolate chips with 1/4 cup heavy cream, spread over caramel. Add chopped pecans and extra chocolate, then chill again.
- Finish and Serve: Drizzle remaining caramel and chocolate, cut into squares, and enjoy!
Notes
- You can customize these treats by adding sea salt to enhance the flavors.
- Store any leftovers in an airtight container for up to 3 days.
- Prep Time: 20 minutes
- Category: Dessert
- Method: Baking
- Cuisine: American
Nutrition
- Serving Size: 1 square
- Calories: 260
- Sugar: 20g
- Sodium: 160mg
- Fat: 12g
- Saturated Fat: 6g
- Unsaturated Fat: 4g
- Trans Fat: 0g
- Carbohydrates: 36g
- Fiber: 1g
- Protein: 2g
- Cholesterol: 10mg

