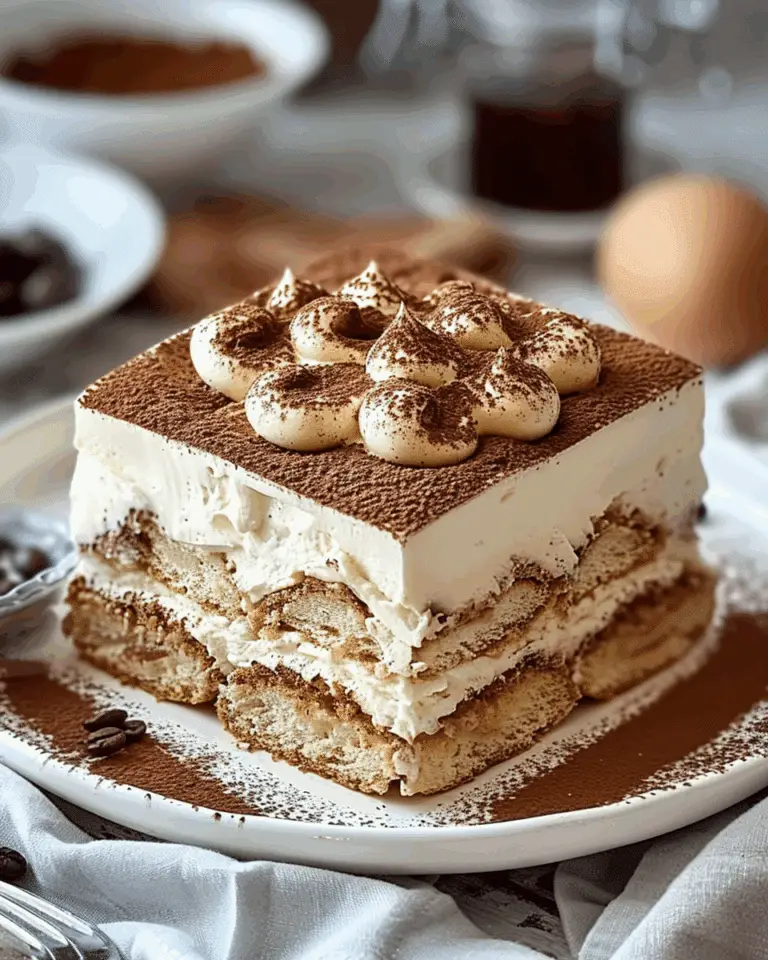
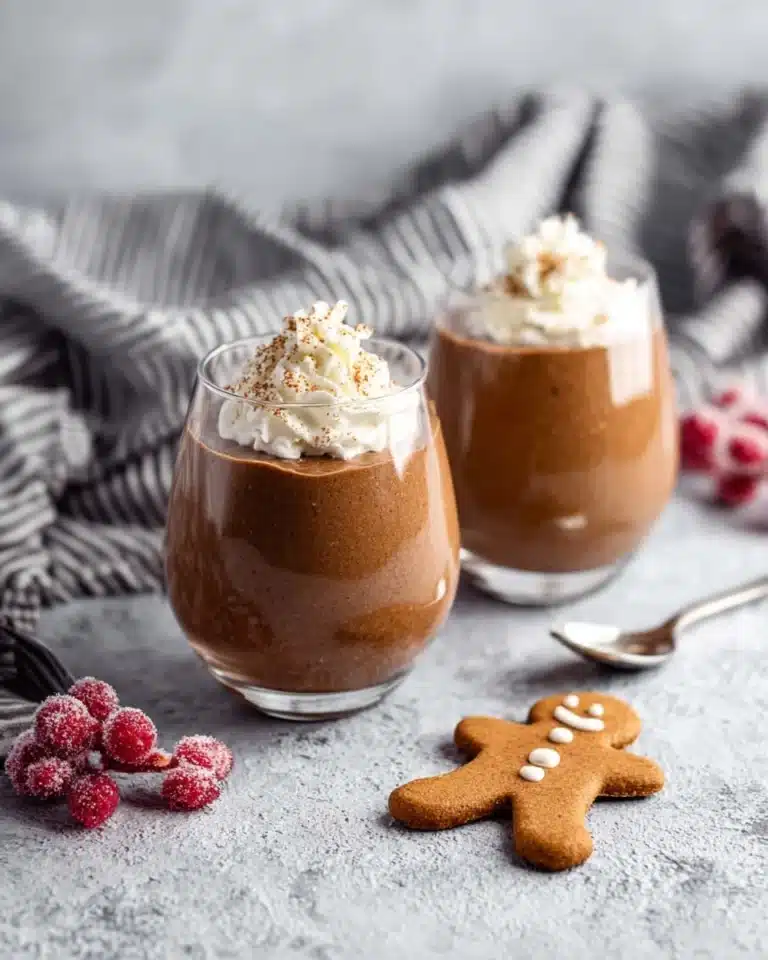
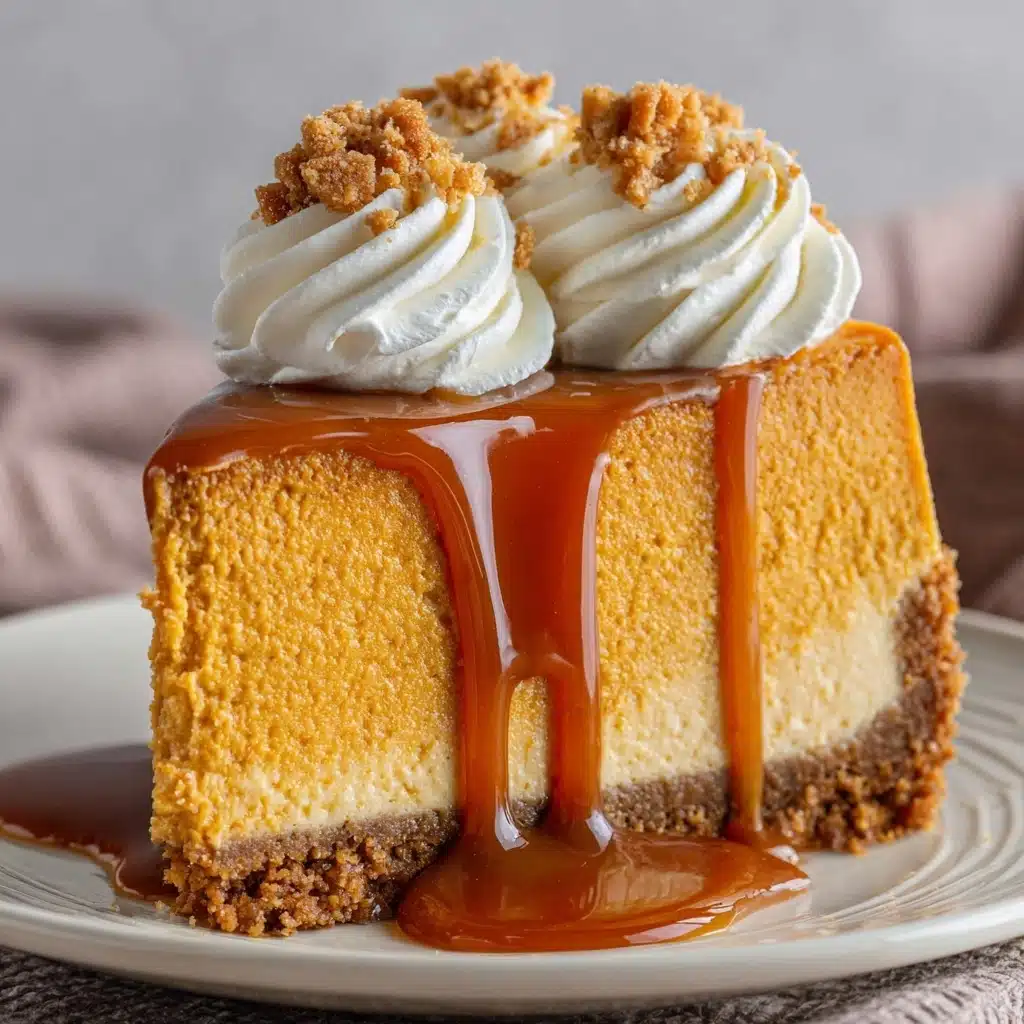
Pumpkin Cheesecake Gingersnap Crust is that pumpkin-spice hug your autumn table’s been missing! This showstopper dessert combines the warm, spicy snap of gingersnap cookies with a rich, silky pumpkin cheesecake filling, baked to dreamy perfection in a luscious water bath for a texture that simply melts in your mouth. It’s the best of creamy cheesecake and cozy fall flavors all rolled into one slice—that’s equally welcome at your holiday feast or just as a well-deserved treat with your afternoon coffee. Once you’ve made this, you’ll find yourself craving it long after pumpkin season is over!
Ingredients You’ll Need
You’ll be surprised how a handful of simple, familiar ingredients combine to create the unbeatable flavor and texture of this Pumpkin Cheesecake Gingersnap Crust. Each element in this list plays a starring role, whether it’s creaminess, spice, or just the right amount of crunch.
- Unsalted Butter (71g, melted): Blends the crumbly gingersnap crust together and gives it a delightful richness.
- Gingersnap Cookie Crumbs (227g): These spicy, crisp cookies create the signature crust with plenty of snap and warmth.
- Granulated Sugar (2 tbsp for the crust, 500g for filling): Adds just the right level of sweetness to both crust and cheesecake.
- Salt (1/4 tsp for the crust, 1 tsp for filling): A pinch brings out the depth in both the crust and the cheesecake flavor.
- Cream Cheese (900g, room temperature): The base of the filling, delivering that classic tangy-smooth texture.
- Sour Cream (57g): This adds subtle tang and extra creaminess to the cheesecake.
- Pumpkin Puree (425g, not pie filling): Pure, earthy pumpkin flavor shines through here, so be sure to use the real deal.
- Large Eggs (6, room temperature, lightly beaten): Eggs bind everything together for a perfect slice every time.
- Vanilla Extract (1 tbsp): Adds lovely warmth and depth to the filling.
- Ground Cinnamon (2 1/2 tsp): The classic pumpkin spice note—don’t be shy with it!
- Ground Ginger (1 tsp): Reinforces that gingersnap flavor throughout.
- Ground Cloves (1/4 tsp): Just a whisper of clove gives the cheesecake its signature holiday aroma.
How to Make Pumpkin Cheesecake Gingersnap Crust
Step 1: Prep Your Pan and Oven
Start by positioning a rack in the center of your oven and preheating to 163°C (325°F). Generously grease a 25 cm springform pan with cooking spray to ensure your luscious Pumpkin Cheesecake Gingersnap Crust comes out cleanly every time—trust me, this small step makes a world of difference!
Step 2: Make and Bake the Crust
Combine the melted unsalted butter, gingersnap cookie crumbs, granulated sugar, and salt in a mixing bowl. Stir until the mixture is evenly moistened and starting to clump. Firmly press this sandy goodness into the base and just slightly up the sides of your prepared pan. Bake it for 10 minutes, just until fragrant and golden—this ensures the crust stays crisp under that creamy filling. Let it cool while you prep the rest.
Step 3: Set Up Your Water Bath
Once your crust is cooling, wrap the outside of your pan with several layers of heavy-duty aluminum foil, making sure there are no gaps (a slow cooker liner is a nifty optional extra barrier!). Set the pan in a large roasting pan. Then, set a medium pot of water to boil for your gentle water bath—a foolproof way to achieve that creamy, crack-free cheesecake top.
Step 4: Whip Up the Creamy Filling
In a large mixing bowl, beat the room-temperature cream cheese until super smooth and fluffy—scrape down the sides as needed for the silkiest texture. Blend in the granulated sugar, followed by the sour cream. Then, add the pumpkin puree, lightly beaten eggs, vanilla extract, salt, cinnamon, ginger, and cloves. Continue mixing just until everything’s incorporated; over-mixing is the enemy of perfect cheesecake!
Step 5: Assemble and Prepare to Bake
Pour the creamy pumpkin filling over your cooled gingersnap crust in the springform pan. Smooth the top with a spatula. Place the pan into the prepared roasting pan—now you’re ready for the water bath!
Step 6: Bake Low and Slow
Slide the roasting pan into the oven, then carefully pour the boiling water around the springform pan until it comes about halfway up the sides. This gentle baking environment is the not-so-secret trick to the dreamy texture of your Pumpkin Cheesecake Gingersnap Crust. Bake for about 1 hour and 45 minutes; the edges should look set, but a little wobble in the center means you’ve nailed it.
Step 7: Gradual Cooling (The Secret to No Cracks!)
Turn off the oven and prop the oven door open for a moment to let some heat escape. Leave the cheesecake inside for another hour—this steady cooling step keeps your Pumpkin Cheesecake Gingersnap Crust smooth and crack-free. Then, take it out of the water bath and let it cool completely on a rack at room temperature.
Step 8: Chill Overnight (Worth the Wait!)
Once completely cool, run a thin knife around the edge to loosen, cover, and refrigerate for at least 8 hours (overnight yields a flawless texture). When ready to serve, let the cheesecake stand at room temperature for 30 minutes, then carefully release and remove the springform ring for that dramatic reveal!
Step 9: Season’s Best Serving Touches
Finally, slice with a hot knife for clean edges, wiping between each slice. Top with a thick cloud of whipped cream and a shower of toasted pecans if you’re feeling fancy. Then, stand back and admire your masterpiece!
How to Serve Pumpkin Cheesecake Gingersnap Crust
Garnishes
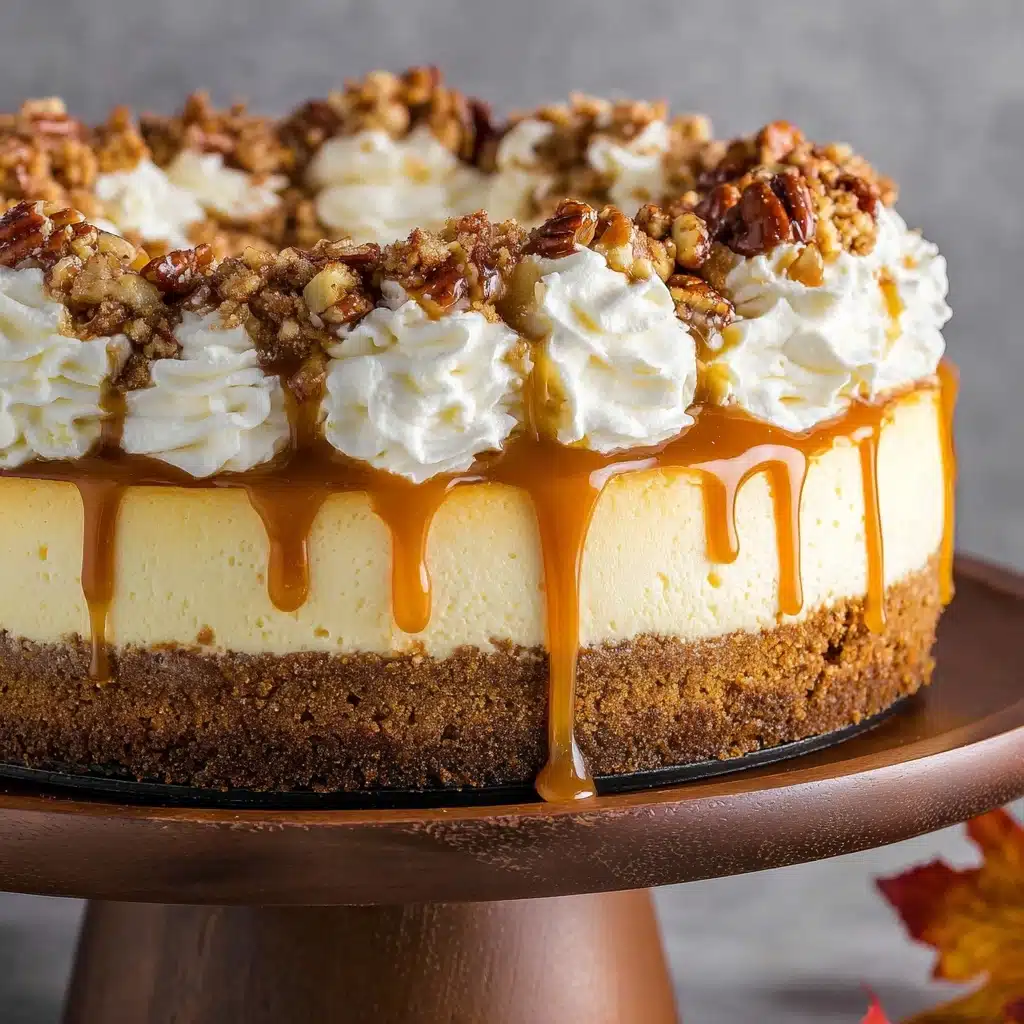
For the ultimate finish, freshly whipped cream is an absolute non-negotiable; it makes every bite feel like a celebration. If you want to lean into the autumn theme, sprinkle on toasted chopped pecans, a drizzle of caramel, or an extra dash of cinnamon on top of your Pumpkin Cheesecake Gingersnap Crust. Even a dusting of crushed gingersnaps adds irresistible crunch.
Side Dishes
Keep the spotlight on your Pumpkin Cheesecake Gingersnap Crust by pairing it with simple sides. Think warm apple cider, a pot of robust black coffee, or even a cheeky pour of bourbon. For a Thanksgiving table, it’s perfectly complemented by spiced poached pears or vanilla ice cream.
Creative Ways to Present
For an eye-catching display, serve individual slices on vintage dessert plates with tiny forks. Or, turn your Pumpkin Cheesecake Gingersnap Crust into mini cheesecakes by dividing the recipe among muffin tins lined with parchment circles—adorable and picnic-friendly! A scattering of edible flowers or a swirl of whipped cream piped around the edge adds bakery-worthy flair.
Make Ahead and Storage
Storing Leftovers
Wrap your leftover Pumpkin Cheesecake Gingersnap Crust snugly in plastic wrap or store slices in an airtight container in the fridge. It’ll keep beautifully for up to three days, staying just as luscious and flavorful as when it was first baked.
Freezing
For longer storage, slice your cheesecake and wrap each piece tightly in plastic wrap, then foil. Arrange the slices in a freezer-safe container; they’ll freeze well for up to one month. When you’re ready for dessert, thaw slices overnight in the refrigerator for best texture.
Reheating
Cheesecake is at its creamy best served cool or at room temperature, so there’s no need to reheat your Pumpkin Cheesecake Gingersnap Crust. Simply let refrigerated or thawed slices sit out for 20-30 minutes before serving for the silkiest bite.
FAQs
Can I use homemade pumpkin puree instead of canned?
Absolutely! Just make sure your homemade pumpkin puree is nice and thick—not watery. Too much moisture can cause the filling to be runny. Strain or cook down your fresh puree if needed for best results.
What if I don’t have gingersnap cookies?
You can swap in graham crackers with an extra pinch of cinnamon and ginger, but honestly, nothing beats the spicy-sweet magic of real gingersnaps in a Pumpkin Cheesecake Gingersnap Crust!
Why does my cheesecake crack on top?
Cracks usually happen from overbaking or sudden temperature changes. Stick to the gentle water bath, don’t overmix your batter, and allow the cheesecake to cool gradually in the oven with the door cracked open.
Is this recipe suitable for gluten-free diets?
Most gingersnap cookies contain wheat, but you can substitute with gluten-free gingersnap cookies (available at many stores). Double-check all ingredients for hidden gluten and bake with confidence!
Can I make this ahead of time for a party?
Definitely! In fact, Pumpkin Cheesecake Gingersnap Crust is even better chilled overnight. Make it a day (or even two) in advance and keep it tightly covered in the fridge until you’re ready to wow your guests.
Final Thoughts
If you’re ready to fall head-over-heels for your new favorite autumn dessert, give this Pumpkin Cheesecake Gingersnap Crust a try. It’s the perfect blend of creamy, spiced, and crunchy, and it’s guaranteed to become a seasonal staple in your kitchen. Gather your ingredients, invite someone to share a slice, and prepare to make a new tradition—happy baking!
Print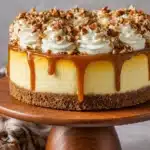
Pumpkin Cheesecake Gingersnap Crust Recipe
- Total Time: 135 min
- Yield: 1 large cheesecake (12 servings)
- Diet: Vegetarian
Description
Indulge in the rich and creamy delight of this Pumpkin Cheesecake with a Gingersnap Crust. The perfect dessert for fall gatherings or Thanksgiving celebrations.
Ingredients
Crust
- 71 g unsalted butter, melted
- 227 g gingersnap cookie crumbs
- 2 tablespoons granulated sugar
- 1/4 teaspoon salt
Filling
- 900 g cream cheese, at room temperature
- 500 g granulated sugar
- 57 g sour cream
- 425 g pumpkin puree (not pumpkin pie filling)
- 6 large eggs, at room temperature, lightly beaten
- 1 tablespoon vanilla extract
- 1 teaspoon salt
- 2 1/2 teaspoons ground cinnamon
- 1 teaspoon ground ginger
- 1/4 teaspoon ground cloves
Instructions
- Prepare the Crust: Combine melted butter, gingersnap cookie crumbs, granulated sugar, and salt. Press into the pan and bake.
- Make the Filling: Beat cream cheese, sugar, sour cream, pumpkin puree, eggs, vanilla, salt, and spices. Pour over the crust.
- Bake: Create a water bath for the cheesecake and bake until set.
- Cool and Chill: Cool the cheesecake, then refrigerate for at least 8 hours or overnight.
- Serve: Bring to room temperature, slice, and enjoy!
Notes
- Use a hot, dry knife for clean slices.
- Store leftovers in the refrigerator for up to 3 days, or freeze for longer storage.
- Prep Time: 30 min
- Cook Time: 105 min
- Category: Desserts
- Method: Baking
- Cuisine: American
Nutrition
- Serving Size: 1 slice
- Calories: 415 kcal
- Sugar: 29g
- Sodium: 390mg
- Fat: 28g
- Saturated Fat: 16g
- Unsaturated Fat: 9g
- Trans Fat: 0g
- Carbohydrates: 35g
- Fiber: 1g
- Protein: 7g
- Cholesterol: 148mg

