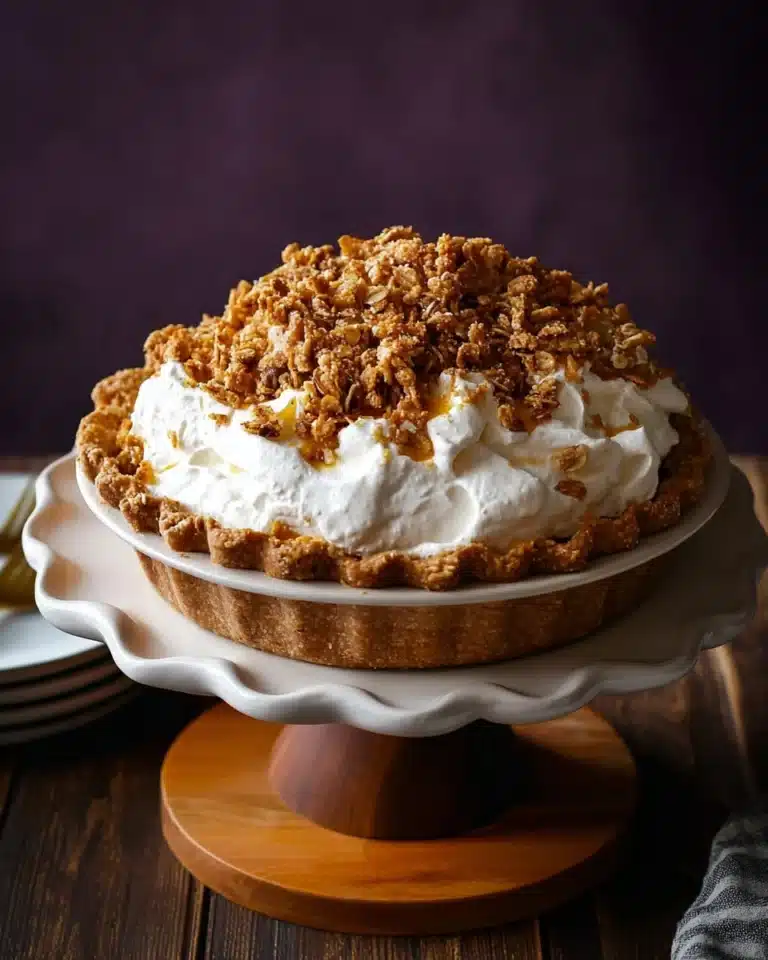
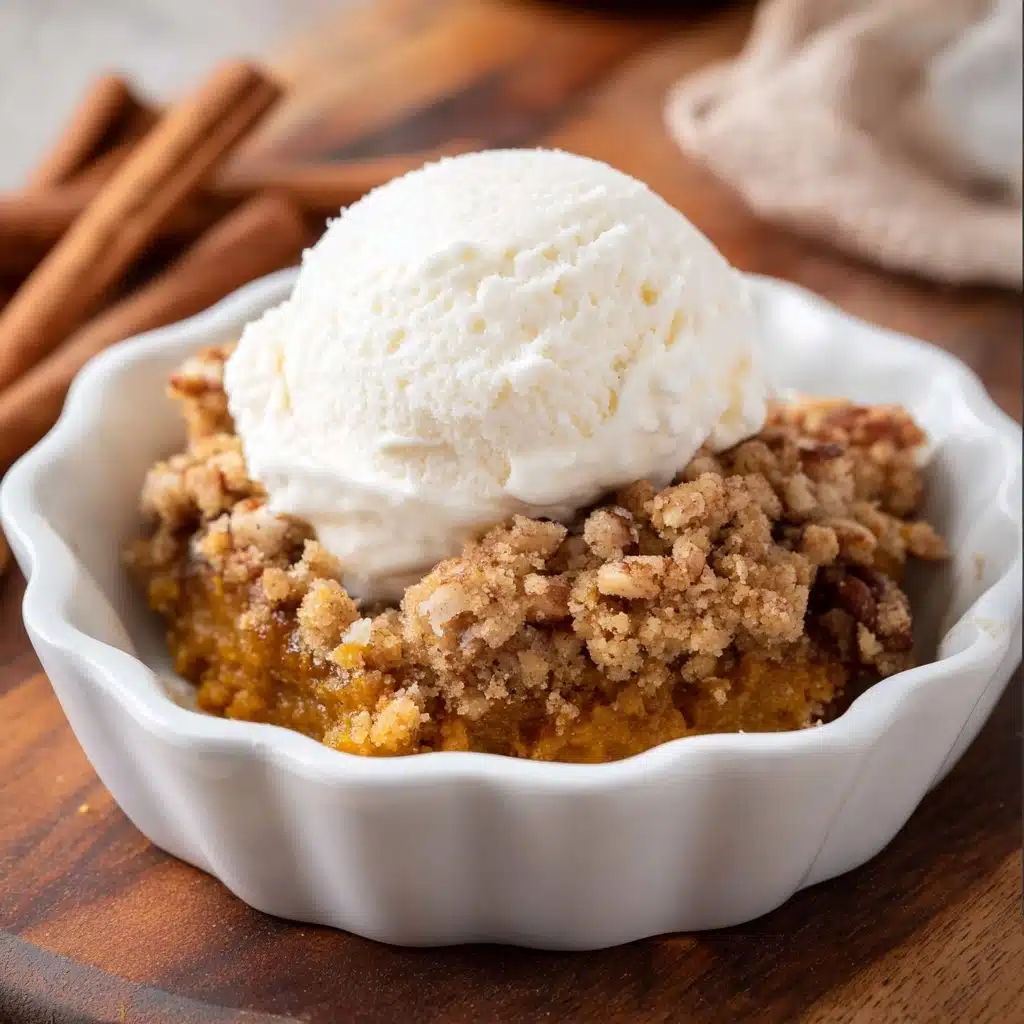
If autumn could be baked into a single dessert, it would absolutely have to be Pumpkin Crisp in a 10-Inch Cast Iron Skillet. This cozy, crackly-topped treat combines silky, warmly spiced pumpkin custard with a thick, buttery oat crumb—each bite has just the right balance of sweet, creamy, and crunchy magic. Made and served right in a trusty cast iron pan, this pumpkin crisp is all about homey flavors, easy assembly, and hearty helpings, perfect for any gathering where you want every forkful to feel like a celebration of fall.
Ingredients You’ll Need
There’s nothing fussy about the ingredients for Pumpkin Crisp in a 10-Inch Cast Iron Skillet, but trust me, every one of them pulls its weight for flavor, texture, and color. These humble basics become a dessert that’s somehow both comforting and impressive, from the way the pumpkin turns silky to the crisp’s golden, nutty crunch.
- Pumpkin Puree: Use pure pumpkin puree for that classic custardy base—skip the pumpkin pie mix for best results!
- Granulated Sugar: Adds just the right touch of sweetness to balance the natural pumpkin flavor.
- Packed Brown Sugar: Brings depth and caramel notes, both in the filling and the topping.
- Ground Cinnamon: Elevates the warmth in both the velvety filling and the crisp topping.
- Ground Ginger: A little bit goes a long way to add zip and brightness.
- Ground Nutmeg: Infuses the dessert with subtle spice and that unmistakable autumn aroma.
- Ground Cloves: Rounds out the spice blend, intensifying the cozy flavors.
- Salt: Just a pinch sharpens the flavors and balances the sweetness.
- Large Eggs: These give your filling the perfect, custardy structure—room temperature is key for a smooth blend.
- Heavy Cream: Adds richness and a silky finish to the pumpkin filling.
- Old-Fashioned Oats: For a crisp topping with hearty crunch and chew.
- All-Purpose Flour: Helps bind the topping and adds just enough heft.
- Pecans or Walnuts: Either nut brings toastiness and that seek-out-worthy crunch to every serving.
- Cold Unsalted Butter: Chilled cubes guarantee those glorious, golden crisp crumbles.
How to Make Pumpkin Crisp in a 10-Inch Cast Iron Skillet
Step 1: Prep Your Oven and Skillet
Start by preheating your oven to 350°F. While things are heating up, make sure your 10-inch cast iron skillet is clean and lightly greased—just a touch of butter or neutral oil will do. That way, your pumpkin crisp will slide out easily and bake up with beautifully caramelized edges.
Step 2: Mix Up the Crisp Topping
In a medium bowl, combine your oats, all-purpose flour, brown sugar, cinnamon, salt, and the chopped pecans or walnuts. Then add the cold, cubed butter. Use your fingertips or a pastry cutter to work the butter in until the mixture clumps together in pea-sized crumbles. Pop the bowl in the fridge—the colder the topping, the crisper the results.
Step 3: Make the Pumpkin Filling
Grab a large bowl and whisk together the pumpkin puree, granulated sugar, brown sugar, cinnamon, ginger, nutmeg, cloves, and salt. Crack in the eggs and whisk again until smooth and creamy. Pour in the heavy cream and blend to combine. This step creates the custardy, spiced foundation that makes Pumpkin Crisp in a 10-Inch Cast Iron Skillet so irresistible.
Step 4: Assemble the Crisp
Pour the pumpkin filling into the prepared cast iron skillet, spreading it evenly with a spatula. Take your chilled crisp topping and scatter it generously over the filling—cover as much surface as you can for maximum crunch in every bite.
Step 5: Bake to Golden Perfection
Slide your skillet into the preheated oven and bake for about 45 minutes. You’ll know it’s ready when the filling is set (no more jiggle in the center) and the topping is golden brown, crisp, and smells like pure fall. Allow your Pumpkin Crisp in a 10-Inch Cast Iron Skillet to cool slightly before serving—just enough that the filling can firm up a bit, but the crisp topping stays crackly and warm.
How to Serve Pumpkin Crisp in a 10-Inch Cast Iron Skillet
Garnishes
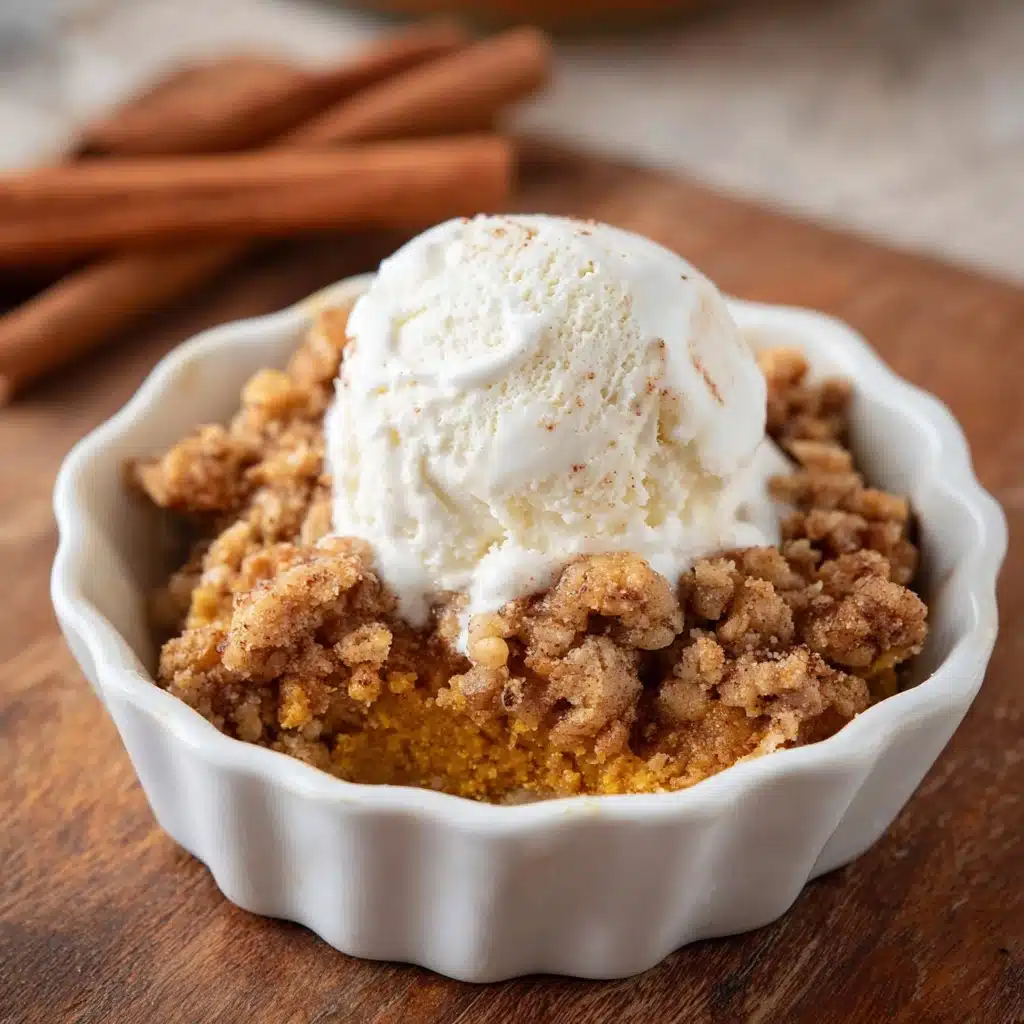
To take things seriously over-the-top, crown each serving with a generous scoop of vanilla ice cream or a cloud of homemade whipped cream. A light dusting of cinnamon or a scattering of toasted nuts adds that little something extra, making your Pumpkin Crisp in a 10-Inch Cast Iron Skillet look as inviting as it tastes.
Side Dishes
This dessert loves to steal the spotlight, but you can serve it alongside warm apple cider, a mug of strong coffee, or even a simple fruit salad with tart apples and grapes to cut through the richness. Each one balances the cozy flavors and makes for a wholly satisfying fall feast.
Creative Ways to Present
If you want to really impress, serve the Pumpkin Crisp in a 10-Inch Cast Iron Skillet right from the oven with big spoons for self-serve fun. For fancier occasions, scoop it into individual ramekins or wide glasses, layering with vanilla ice cream for an autumn parfait twist—all the comfort, even more wow factor.
Make Ahead and Storage
Storing Leftovers
Any extra Pumpkin Crisp in a 10-Inch Cast Iron Skillet can be covered with foil or transferred to an airtight container and stored in the refrigerator. It will keep well for up to 4 days, and the flavors actually get even cozier as they meld overnight.
Freezing
If you’re looking to save some for the future, this crisp freezes beautifully. Simply let it cool completely, wrap it tightly or seal in a freezer-safe container, and freeze for up to 2 months. Thaw overnight in the fridge when you’re ready for another taste of fall.
Reheating
To recapture that fresh-baked magic, reheat your Pumpkin Crisp in a 10-Inch Cast Iron Skillet uncovered at 350°F for 10-15 minutes (longer if frozen). The topping will crisp right up again, and the filling turns perfectly warm and creamy, just like it was on day one.
FAQs
Can I use a different size skillet or baking dish?
Absolutely! If you don’t have a 10-inch cast iron skillet, you can use a similar-sized oven-safe skillet or a 9×9-inch baking dish; just be sure to check for doneness a little early or leave it in slightly longer as needed.
What’s the best way to keep the topping crispy?
Keep the topping cold before baking, and don’t cover the crisp while it’s in the oven—this ensures that signature golden, crunchy finish every time.
Can I swap out the nuts in the topping?
Yes, feel free to substitute any nuts you love or go entirely nut-free if there are allergies in the house. Sunflower seeds or pumpkin seeds add crunch without the potential allergens.
Is canned pumpkin the same as pumpkin pie filling?
Not quite! For Pumpkin Crisp in a 10-Inch Cast Iron Skillet, you’ll want plain pumpkin puree, not pumpkin pie filling, which already contains sugar and spices and could throw off your flavors and consistency.
How can I tell when the crisp is done baking?
Look for a set center with no jiggle in the pumpkin layer, and a topping that’s deeply golden and crisp to the touch. If you’re unsure, a knife inserted in the center should come out mostly clean—just a little moisture is fine.
Final Thoughts
Whether you’re hosting a cozy autumn gathering or just want an easy, heartwarming treat for a chilly night, Pumpkin Crisp in a 10-Inch Cast Iron Skillet is the dessert you’ll turn to again and again. I hope you’re as smitten with this sweet, spiced, crisp-topped delight as I am—don’t wait for a special occasion to give it a try!
Print
Pumpkin Crisp in a 10-Inch Cast Iron Skillet Recipe
- Total Time: 55 minutes
- Yield: 10 servings
- Diet: Vegetarian
Description
Indulge in the delightful flavors of fall with this Pumpkin Crisp baked in a 10-inch cast iron skillet. A luscious pumpkin filling topped with a crunchy oat and nut topping, this dessert is a comforting treat for all occasions.
Ingredients
Pumpkin Filling:
- 1 can 15 oz pumpkin puree
- 1/4 cup granulated sugar
- 1/2 cup packed brown sugar
- 1 teaspoon ground cinnamon
- 1/2 teaspoon ground ginger
- 1/4 teaspoon ground nutmeg
- 1/4 teaspoon ground cloves
- 1/4 teaspoon salt
- 3 large eggs at room temperature
- 3/4 cup heavy cream at room temperature
Crisp Topping:
- 1 cup old-fashioned oats
- 2/3 cup all-purpose flour
- 2/3 cup packed brown sugar
- 1 teaspoon ground cinnamon
- 1/4 teaspoon salt
- 2/3 cup chopped pecans or walnuts
- 1/2 cup cold unsalted butter, cubed
Instructions
- Preheat Oven: Preheat your oven to 350°F.
- Prepare Crisp Topping: In a bowl, combine oats, flour, brown sugar, cinnamon, salt, and nuts. Add cold butter, mix until crumbly, and chill.
- Mix Pumpkin Filling: In a large bowl, mix pumpkin, sugars, spices, salt, eggs, and cream until smooth.
- Assemble: Pour pumpkin filling into skillet and top with crisp mixture.
- Bake: Bake at 350°F for 45 minutes until set and golden.
- Serve: Let cool slightly before serving, optionally with ice cream or whipped cream.
Notes
- You can adjust the spices in the pumpkin filling to suit your taste preferences.
- Feel free to swap pecans or walnuts with your favorite nuts for the crisp topping.
- For a richer flavor, you can add a dash of vanilla extract to the pumpkin filling.
- Prep Time: 10 minutes
- Cook Time: 45 minutes
- Category: Dessert
- Method: Baking
- Cuisine: American
Nutrition
- Serving Size: 1 serving
- Calories: 406 Calories
- Sugar: 32g
- Sodium: 223mg
- Fat: 23g
- Saturated Fat: 11g
- Unsaturated Fat: 10g
- Trans Fat: 0.4g
- Carbohydrates: 48g
- Fiber: 3g
- Protein: 6g
- Cholesterol: 94mg

